
Whether you've just built your own PC, received a pre-built system, or are considering purchasing a used gaming rig, thorough testing is essential. Hidden issues like unstable overclocks, failing components, or inadequate cooling can cause problems days or weeks after purchase.
This comprehensive 2026 checklist covers everything from initial POST to extended stability testing. Follow these 60+ checkpoints to verify your PC is functioning correctly and will deliver reliable performance.
When to Use This Guide: New builds (first boot verification), used PC purchases (seller testing), pre-built systems (quality verification), or troubleshooting stability issues.
Essential Testing Tools
Before starting, download these free utilities. They'll help you verify components, monitor temperatures, and stress test your system.

System Information
- CPU-Z: CPU, RAM, motherboard info
- GPU-Z: Graphics card details
- HWiNFO64: Comprehensive hardware monitoring
- CrystalDiskInfo: Storage health (SMART data)
Stress Testing
- Prime95: CPU stress test
- Cinebench R24: CPU benchmark
- FurMark: GPU stress test
- MemTest86: RAM testing (bootable)
Gaming Benchmarks
- 3DMark: GPU/gaming performance
- Unigine Superposition: GPU stress
- OCCT: Combined stress testing
- UserBenchmark: Quick overall comparison
Storage Testing
- CrystalDiskMark: Speed benchmarks
- HD Tune: Health and performance
- ATTO Disk Benchmark: Detailed speeds
- Samsung Magician: Samsung SSD utility
💡 Testing Order
For used PCs, run monitoring software first to check baseline temps and speeds, then stress test to reveal hidden issues. For new builds, verify components are detected correctly before stress testing.
Initial Boot & BIOS Checks
The first boot reveals whether all components are correctly installed and communicating. Pay attention to POST codes, BIOS settings, and initial temperature readings.

First Power-On Checklist
Power Button Response
System should power on immediately. Fans should spin, lights should illuminate. No response = check power connections, PSU switch, and front panel connectors.
POST Completion
System should reach BIOS or boot screen within 30 seconds. Debug LEDs or POST codes indicate issues. Check motherboard manual for error code meanings.
Display Output
Image appears on monitor. If using discrete GPU, connect monitor to GPU (not motherboard). Try different video outputs if no signal.
Keyboard/Mouse Recognition
Peripherals should work in BIOS. Try different USB ports if unresponsive. USB 2.0 ports are most compatible for BIOS.
BIOS Verification
Enter BIOS (typically DEL, F2, or F12 during boot) and verify:
- ☐ CPU model and speed correct
- ☐ RAM quantity matches installed
- ☐ RAM speed (XMP/DOCP profile)
- ☐ All storage drives detected
- ☐ GPU detected (if visible in BIOS)
- ☐ Boot order set correctly
- ☐ Date/time accurate
- ☐ No error messages or warnings
Critical BIOS Settings to Check
| Setting | Where to Find | What to Check |
|---|---|---|
| XMP/DOCP Profile | Memory/OC Settings | Enable to run RAM at advertised speed |
| CPU Overclock | CPU/OC Settings | Verify if overclocked; note settings for stability testing |
| Secure Boot | Security/Boot | Required for Windows 11; may need to enable |
| TPM | Security/AMD fTPM or Intel PTT | Required for Windows 11 |
| Resizable BAR | Advanced/PCI Settings | Enable for GPU performance boost |
⚠️ Used PC Warning
When buying a used PC, sellers may have unstable overclocks enabled to boost benchmark scores. Note any non-stock CPU/RAM settings and plan to test stability or reset to defaults.
Component Verification
After booting into Windows, verify all components match what was advertised or expected. Counterfeit or mislabeled components are unfortunately common in the used market.

CPU Verification (CPU-Z)
Verify These Fields:
- • Name: Matches claimed CPU model
- • Cores/Threads: Correct for model
- • Core Speed: Within expected range
- • Package: Socket type matches motherboard
Red Flags:
- • Name doesn't match listing
- • Lower core/thread count than expected
- • Much older generation than claimed
- • ES (Engineering Sample) label
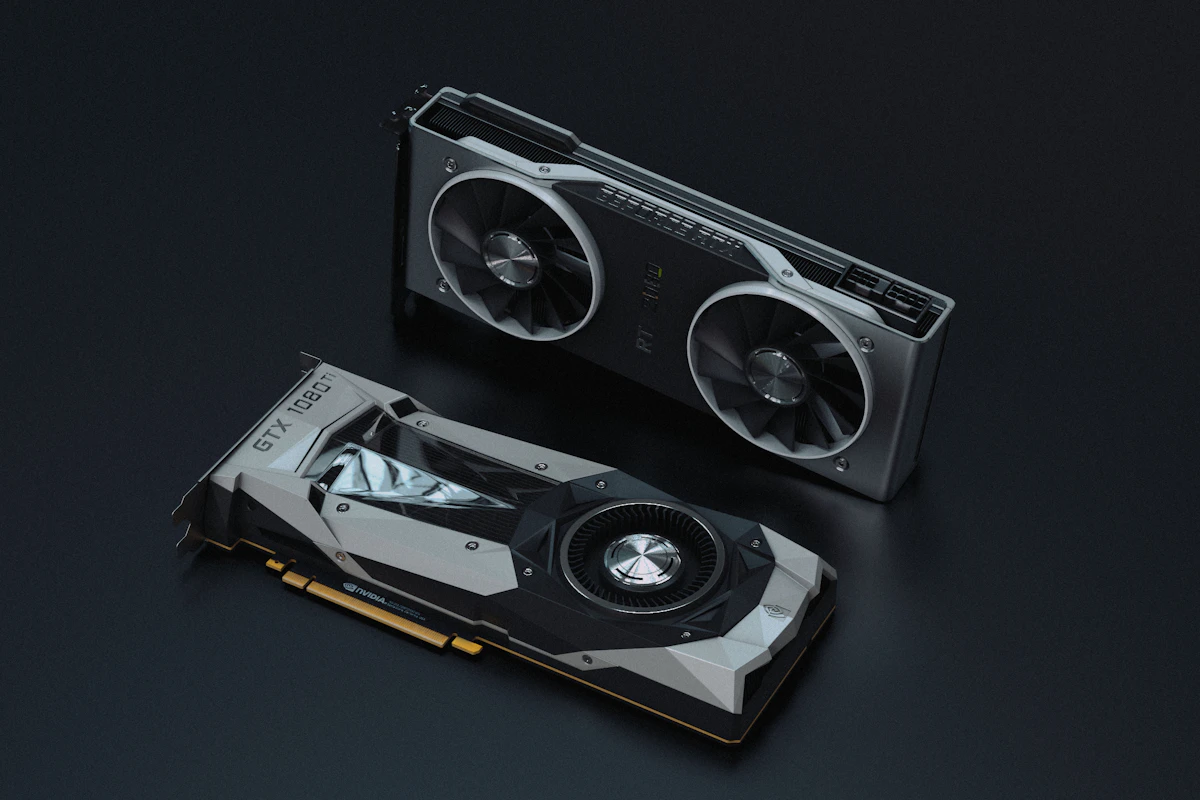
GPU Verification (GPU-Z)
Verify These Fields:
- • Name: Exact GPU model
- • GPU: Correct chip (e.g., AD104)
- • Memory Size/Type: Matches specs
- • Bus Interface: PCIe x16
Red Flags:
- • "Fake" indicator in GPU-Z
- • VRAM doesn't match claimed amount
- • Wrong GPU chip for model name
- • Mining BIOS detected
RAM Verification
Check in CPU-Z (Memory Tab):
- • Type: DDR4/DDR5
- • Size: Total capacity
- • Channels: Single/Dual
- • DRAM Frequency: Effective speed
Verify:
- • Total RAM matches (32GB, 64GB, etc.)
- • Running in dual-channel if 2+ sticks
- • Speed matches after XMP enabled
- • Manufacturer matches (SPD tab)
Storage Verification (CrystalDiskInfo)
For each drive, verify:
Identity:
- • Model name
- • Capacity
- • Interface (NVMe/SATA)
Health:
- • Health Status: Good
- • Temperature: <50°C idle
- • Power On Hours
Usage (Used PCs):
- • Total Host Writes (TBW)
- • Power On Count
- • SMART warnings
🔴 Storage Health Warnings
- • Health Status: Caution or Bad = replace immediately
- • Reallocated Sectors Count > 0 = failing drive
- • Current Pending Sector Count > 0 = imminent failure
- • SSDs with 80%+ of rated TBW = limited remaining life
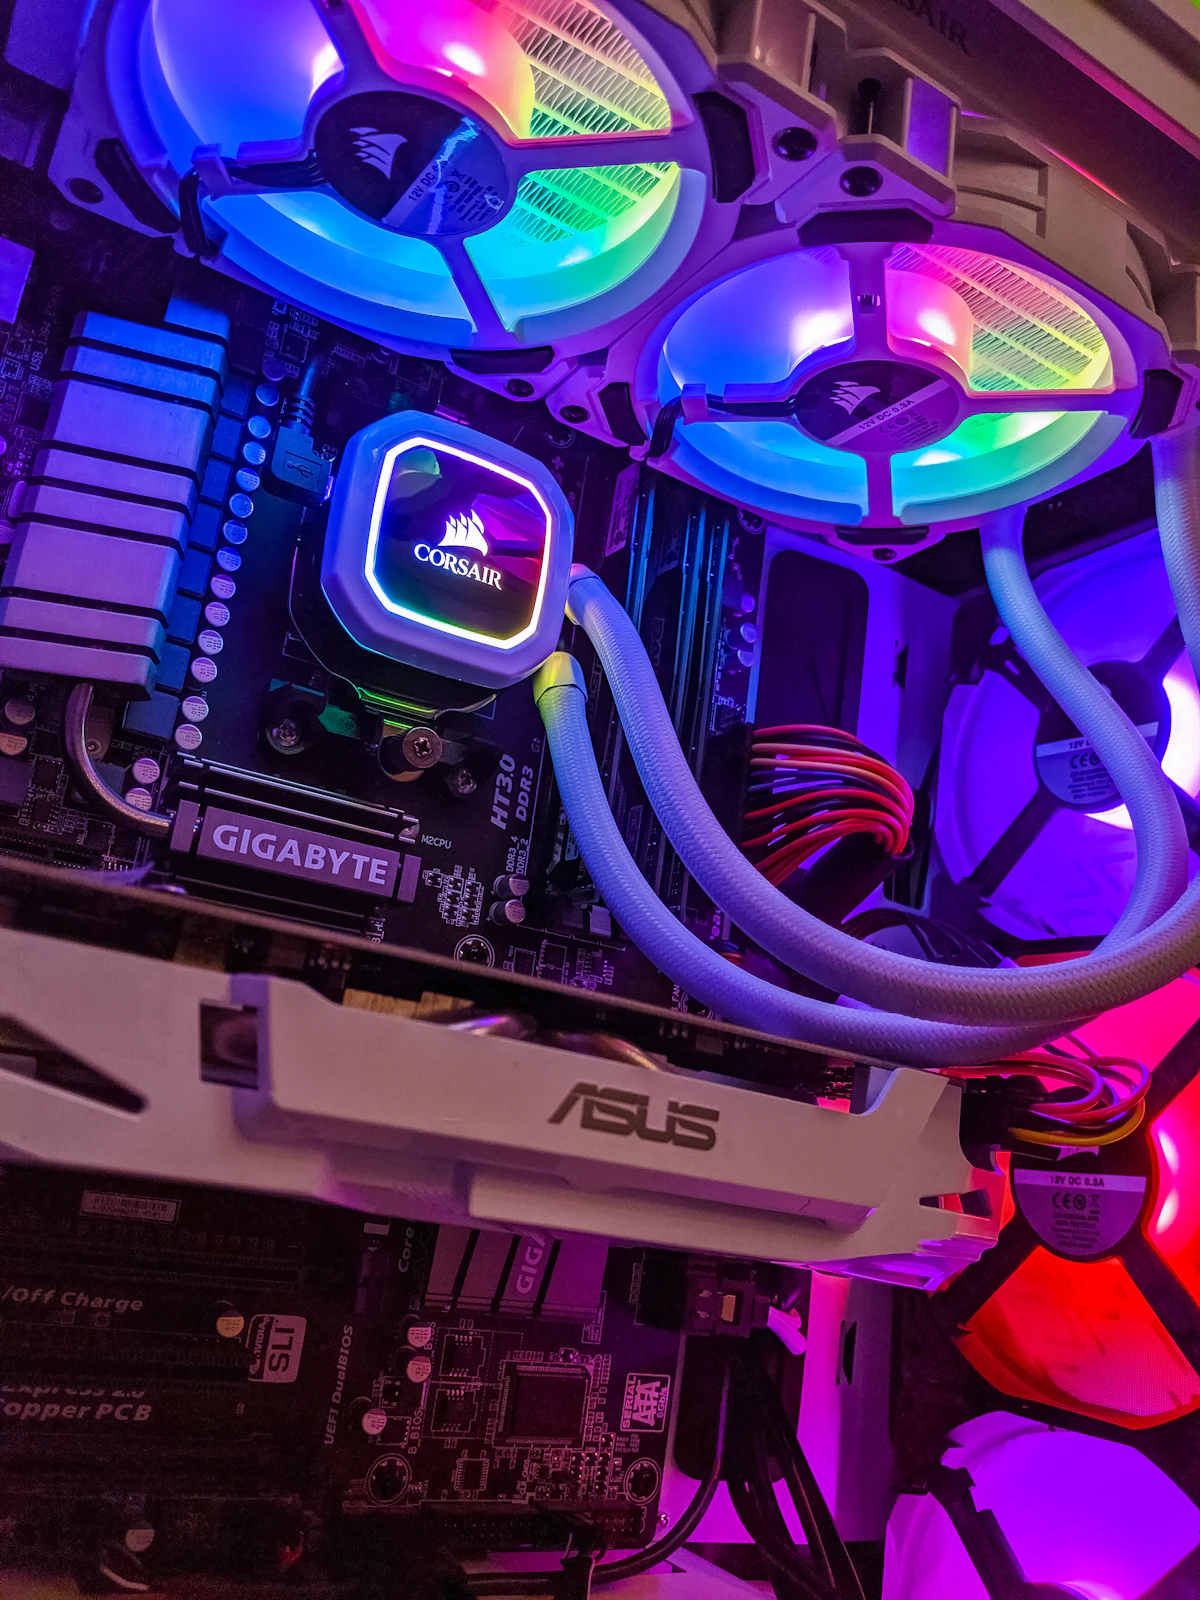
CPU Testing & Thermals
CPU stress testing reveals thermal throttling, unstable overclocks, and cooling issues. It's essential for both new builds (verify cooler installation) and used PCs (check for degradation).

CPU Temperature Guidelines
Idle (Desktop)
30-45°C
Normal idle temps
>50°C idle = check cooler mount
Gaming Load
60-80°C
Typical gaming temps
>85°C = improve cooling
Stress Test
70-95°C
Prime95/stress max
>100°C = throttling/danger
CPU Stress Test Procedure
Step 1: Baseline Monitoring (5 minutes)
Open HWiNFO64 and note idle temperatures. All cores should be within 5°C of each other. Wildly uneven temps may indicate poor thermal paste application.
Step 2: Cinebench R24 (Quick Test)
Run Cinebench R24 Multi-Core. Takes ~10 minutes. Watch temperatures and note the score. Compare score to published results for your CPU—significant deviation indicates issues.
Step 3: Prime95 (Extended Stress)
Run Prime95 "Small FFTs" for 15-30 minutes. This is the most demanding test. Watch for thermal throttling (clock speed drops) or worker errors (instability). Any crashes or errors = unstable.
Step 4: Review Results
Check HWiNFO64 for maximum temps reached, any thermal throttling events, and CPU package power consumption. Temps should stabilize, not continuously climb.
⚠️ Overclocked CPU Warning
If the PC is overclocked, stress testing may reveal instability the seller hid. Any crashes, blue screens, or Prime95 errors during testing indicate the overclock is unstable. Either reduce the OC or negotiate a lower price.
GPU Testing & Benchmarks
GPU testing is especially critical for used PCs—ex-mining cards and abused gaming GPUs can have degraded performance, artifacts, or imminent failure. Thorough testing catches these issues.
GPU Temperature Guidelines
| Scenario | GPU Temp | VRAM Temp (GDDR6X) | Status |
|---|---|---|---|
| Idle | 30-45°C | 35-50°C | Normal |
| Gaming | 65-80°C | 80-100°C | Normal |
| Stress Test | 75-85°C | 90-105°C | Acceptable |
| Danger Zone | >90°C | >110°C | Throttling/Risk |
GPU Testing Procedure
Step 1: Visual Artifact Test
Before stress testing, browse the desktop and watch a video. Look for: flickering, colored lines, blocky patches, or random pixels. Any artifacts at idle indicate GPU failure.
Step 2: 3DMark Time Spy (Benchmark)
Run 3DMark Time Spy (free version available). Compare your GPU score to average results online. Score 15%+ below average indicates issues (throttling, worn card, or driver problems).
Step 3: FurMark (Stress Test)
Run FurMark 1080p preset for 10-15 minutes. Watch for: artifacts, crashes, temperature climbing above 90°C, or significant clock speed drops (thermal throttling).
Step 4: Game Testing (Real-World)
Play a demanding game for 30+ minutes. Games like Cyberpunk 2077 or Red Dead 2 stress the GPU differently than synthetic tests. Watch for crashes, freezes, or artifacts.
🔴 GPU Problem Signs
- • Any visual artifacts (even minor) = GPU degradation
- • Driver crashes during testing = unstable GPU
- • Score 20%+ below average = thermal or power issues
- • Fans not spinning or stuck at 100% = fan failure
- • Coil whine that wasn't mentioned = honest sellers disclose this
RAM Testing
Faulty RAM causes random crashes, blue screens, and data corruption. It's one of the most common causes of system instability and is often missed by casual testing.

RAM Testing Methods
MemTest86 (Gold Standard)
- • Boot from USB drive
- • Tests RAM outside of Windows
- • Run 4+ passes for thorough test
- • Takes 2-4+ hours for 32GB
- • ANY errors = bad RAM
Windows Memory Diagnostic (Quick)
- • Built into Windows
- • Search "Windows Memory Diagnostic"
- • Restarts and tests RAM
- • Faster but less thorough
- • Good for initial check
XMP/DOCP Stability
Many RAM kits advertise high speeds (e.g., DDR5-6000) that may not be stable on all systems:
- Enable XMP/DOCP profile in BIOS for rated speed
- Run MemTest86 or Prime95 with RAM stress to verify stability
- If errors occur, try lowering speed one step or loosening timings
- Some CPUs/motherboards can't run all RAM at rated speed—this is normal
⚠️ Used PC RAM Concerns
Sellers may have run RAM at unstable speeds to hit higher benchmark scores. Always verify XMP is stable under load. If the system crashes with XMP enabled, you're not getting the advertised performance.
Storage Testing
Storage health is critical—a failing drive can cause data loss and system instability. Speed testing also reveals if drives are performing as advertised.
Expected Storage Speeds
| Drive Type | Sequential Read | Sequential Write | Random 4K |
|---|---|---|---|
| SATA SSD | 500-560 MB/s | 450-530 MB/s | 40-90 MB/s |
| NVMe Gen3 | 2,500-3,500 MB/s | 2,000-3,000 MB/s | 50-100 MB/s |
| NVMe Gen4 | 5,000-7,400 MB/s | 4,000-6,500 MB/s | 80-120 MB/s |
| NVMe Gen5 | 10,000-14,000 MB/s | 8,000-12,000 MB/s | 100-150 MB/s |
| HDD (7200RPM) | 150-200 MB/s | 130-180 MB/s | 0.5-2 MB/s |
Storage Testing Procedure
1. Health Check (CrystalDiskInfo)
Verify Health Status is "Good" for all drives. Note Power On Hours and Total Host Writes for SSDs—high numbers on "new" drives indicate used/resold stock.
2. Speed Benchmark (CrystalDiskMark)
Run default 1GB test. Compare Sequential Read/Write to expected speeds for drive model. Speeds 20%+ below spec indicate issues or thermal throttling.
3. Sustained Write Test (Large File Copy)
Copy a 50GB+ file to the drive. Speed should remain consistent. Cheap SSDs with small cache will drop dramatically after cache fills—this affects real-world performance.
🔴 Storage Warning Signs
- • CrystalDiskInfo shows "Caution" or "Bad" status
- • Reallocated sectors on HDD (imminent failure)
- • Power On Hours doesn't match seller's claims
- • Speeds significantly below advertised
- • Drive making clicking or grinding noises (HDD)
Full System Stability Testing
After testing individual components, run combined stress tests to verify the system is stable under real-world conditions. This catches power supply issues, thermal problems, and marginal component failures.
Combined Stress Test Protocol
30-Minute Combined Stress
Run Prime95 (CPU) + FurMark (GPU) simultaneously for 30 minutes. This tests power supply capacity, overall thermal management, and system stability under maximum load.
Pass Criteria:
- • No crashes, freezes, or blue screens
- • Temperatures remain stable (not climbing)
- • No Prime95 worker errors
- • No FurMark artifacts
Extended Gaming Session (2+ Hours)
Play demanding games for 2+ hours continuously. This simulates real-world usage and catches issues that only appear after extended operation.
Watch For:
- • Game crashes or driver errors
- • Stuttering that develops over time
- • Audio crackling or popping
- • Fan noise changes (fans ramping up as components overheat)
Sleep/Wake Cycle Test
Put the PC to sleep and wake it 5-10 times. Also test hibernate and restart. Some system instabilities only appear during power state transitions.
Verify:
- • Wakes reliably every time
- • All peripherals reconnect (USB, audio)
- • Network connection restores
- • No display glitches after wake
💡 PSU Load Testing
During combined stress tests, monitor total system power draw with HWiNFO64 (if supported) or a wall meter. If power draw approaches PSU rated capacity (80%+), the PSU may be undersized for the system or could be degraded (used PCs).
Master PC Testing Checklist
Use this comprehensive checklist for new builds and used PC purchases. Check off each item as you complete testing.